Suburban Dad Shxt™… A Pit of Fire
So we moved into
this house 361 days ago… Among things I
planned to do were to fix the yard (completed
in May & maintained ever since), mancave the garage (that
has been an ongoing project that will never be “done,” but it contains all my fun
stuff), and build a fire pit in the back yard.
Wife insisted we add a patio under the deck in the meantime. Not to bore anyone with tales of an ongoing
garage/mancave/home gym – if you were on IG then you saw it – we’re here to
talk about that last one.
I put this project off for the longest time, only to find myself upset at how damned easy it wound up being…
We’ll start off by
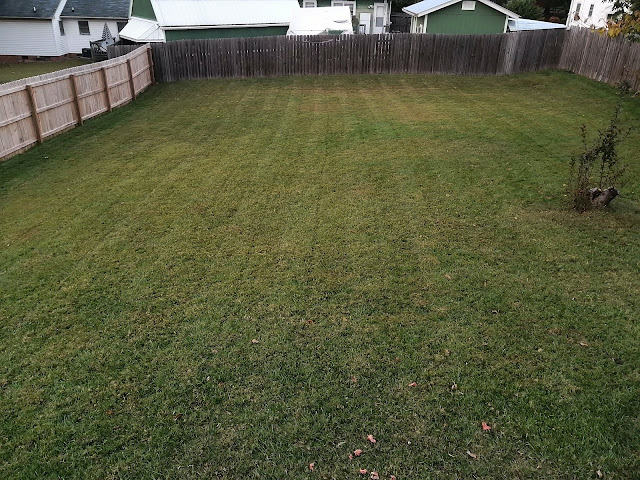
cutting the back yard as we do every Wednesday:
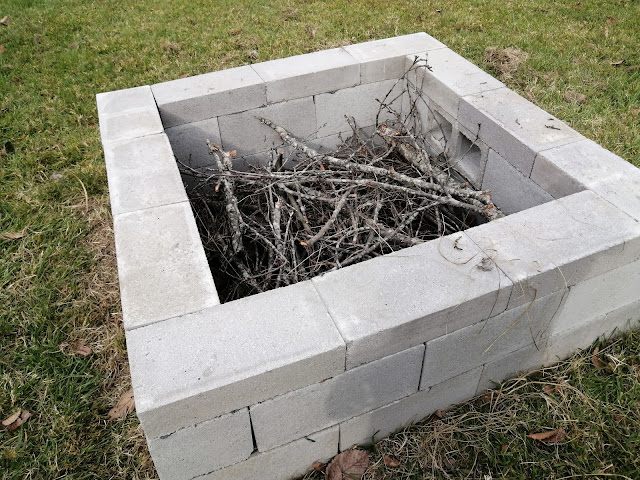
Start with twelve cinder blocks arranged into a square. Standard blocks will give you a 56” outside
diameter using standard 16x8x8 blocks.
I made sure to
position it at the most level part of my yard, safely at least 25 feet from the
house and from the fence and storage building as well.
Mark the square out with your weed eater or lawn scissors or shovel or whatever tool you choose to do so (<-- not pictured), then dig – or in my case, till – the spot to assure levelness. Arrange your square back tightly in formation and tamp it down into the ground so it doesn’t shift in later steps.
Argue with the wife person during mockup over why it should be allowed to go three blocks high vs. just two.
HOLY SCHITTE, IT’S YETI!!! Hey Buddy!
Concede the above argument because she never lets you have any fun and go with two full-size blocks and a half-block-sized cap. Enlisting the assistance of an eager-to-assist eleven year old using fireplace caulk and a caulking gun, arrange each layer the opposite direction of the one below it. Position at least one block on it's side for airflow.
Run out of caulk with three blocks left like a dumbass and run to Lowe’s for another.
And like that, you’re done. What I was SURE would take forever took two ten-minute prep sessions during the week and 40 minutes on Saturday morning. That is 40 minutes including a quick slide down to Lowe’s a mile down the road.
Day Two…
Give the caulk at
least 15 hours to cure, per the instructions and come back outside…
Spread sand in the bottom of the pit…
… and then a layer of Lava Rock (or whatever fire-safe rock you choose).
Now remember the dying tree I mentioned before? It has spent the last 10 months drying out and will be used in my first test burn before we really break this thing in with food and friends.
Future plans
include letting the kids paint it with heat-resistant black paint and coming up
with some type of solution to surround it with pavers or perhaps some kind of
rocks. My uncles are of the opinion that
I need to add some grates to the top and use it as a smoker sometimes as well.
These things are for future tasks though.
Right now, we will light some fires up and enjoy some fall and winter
time fun in the yard.


Comments